How to Manage Your Content Workflow in Wemify
The Wemify workflow at a glance
| Step | Where in Wemify | Tutorial |
|---|---|---|
| Plan | Plan your content, Publish posts → Calendar | Create a content calendar |
| Create | Create posts → New draft | Create your first post |
| Adapt | Create for + Rewrite for other channels | Repurpose content |
| Approve | Ask someone to review, Review posts | Approve content |
| Schedule | Schedule in the draft | Schedule content |
| Publish | Connect & publish or Post it myself | Covered in Create and Schedule |
You don't need every step for every post. A quick update can go straight from draft to published; a client campaign can go through all six.
1. Plan your content
Group related posts into campaigns so launches and themes stay together, and use the calendar to see which days are covered.
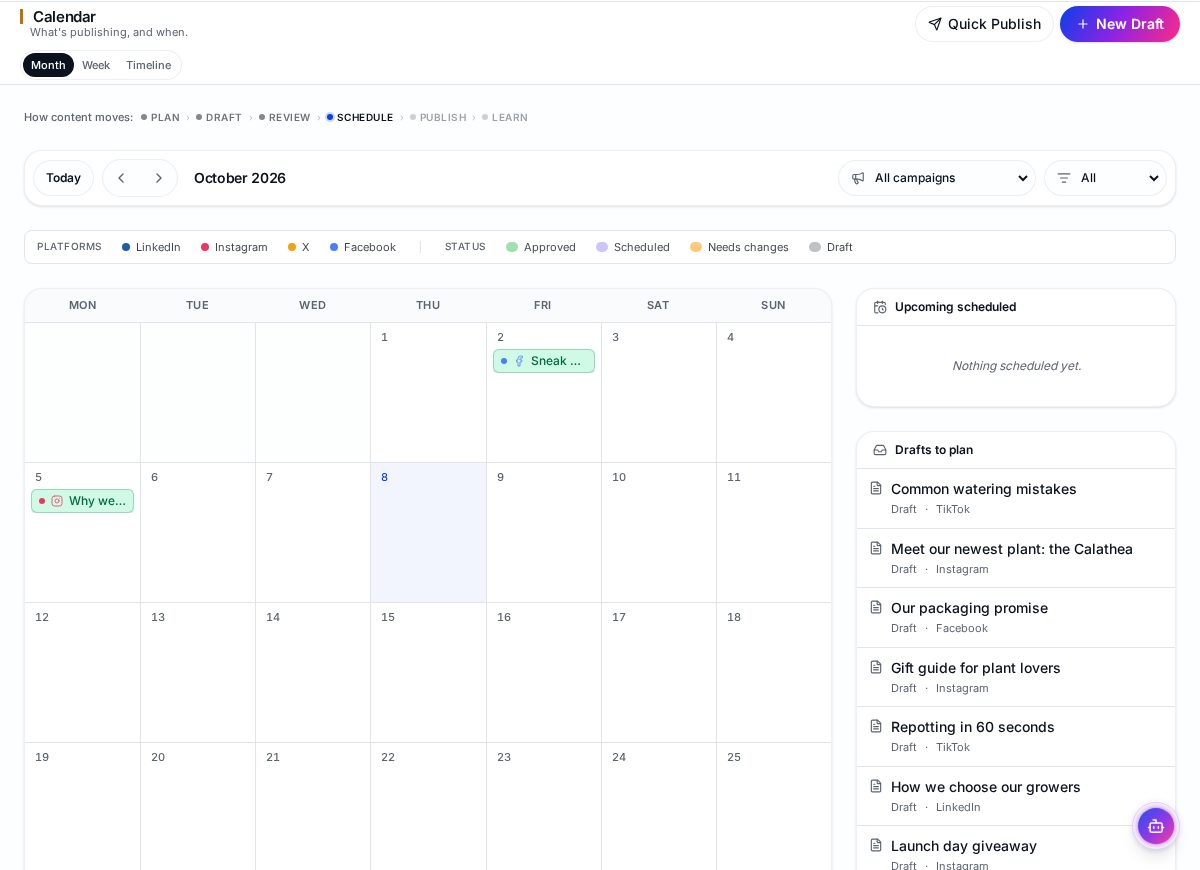
Detailed steps: How to Create a Content Calendar in Wemify.
2. Create your draft
Click New draft, write a short brief and switch on the channels. Wemify writes the first version, which you review and edit.
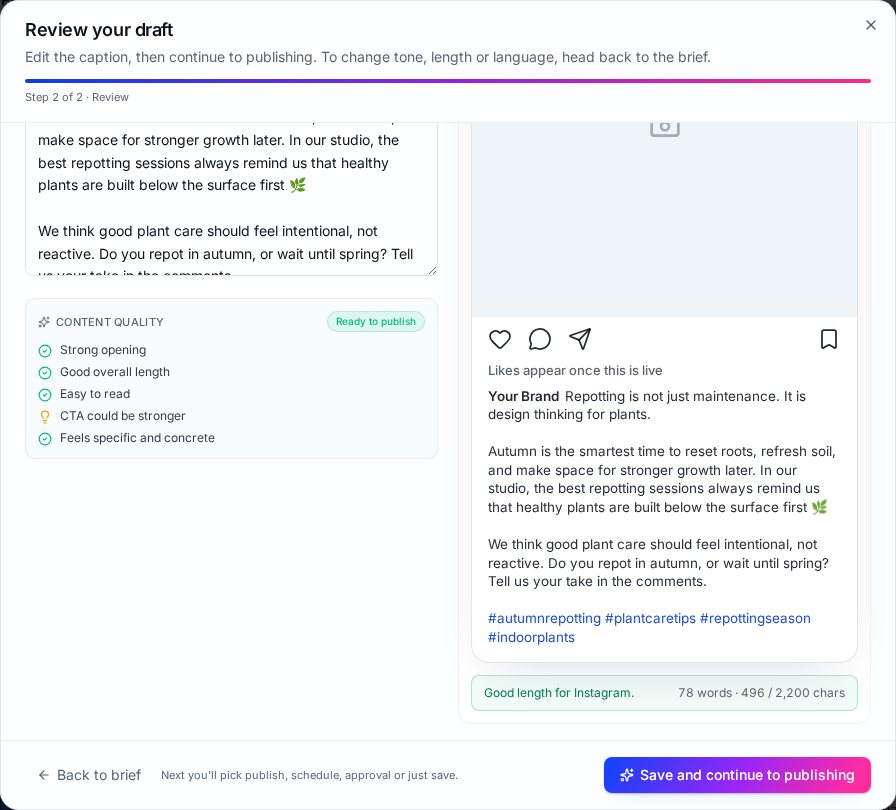
Detailed steps: How to Create Your First Post in Wemify.
3. Adapt content for each platform
One idea, several channels: Wemify rewrites the post for each platform so it doesn't look copy-pasted.
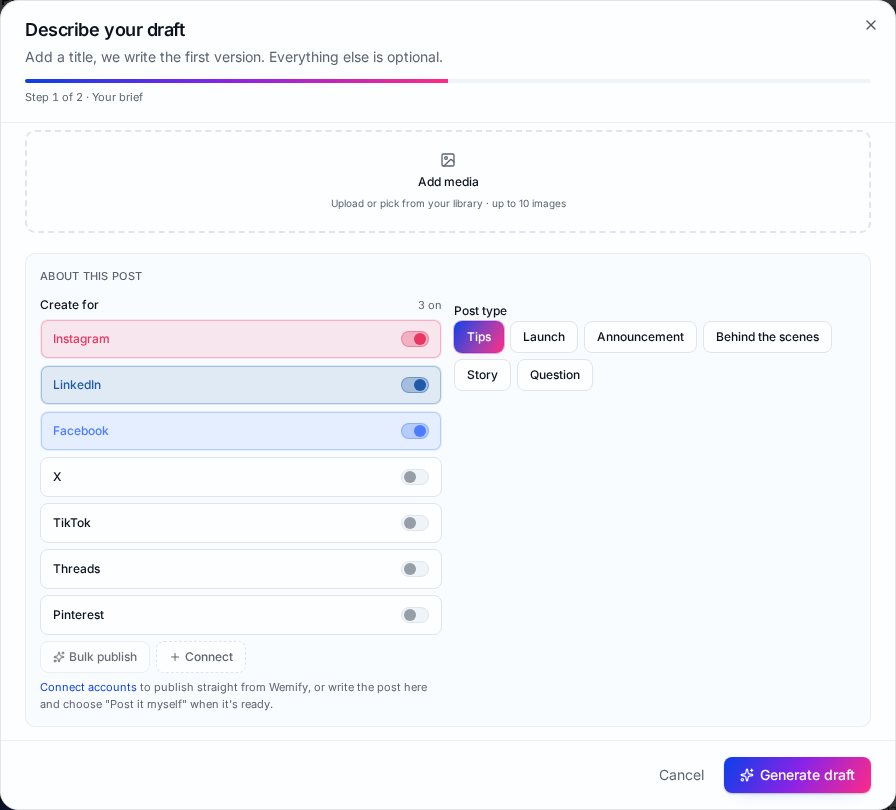
Detailed steps: How to Repurpose Content in Wemify.
4. Review and approve
Send drafts to a teammate or an external reviewer. Decisions and comments are collected on the Review posts page.
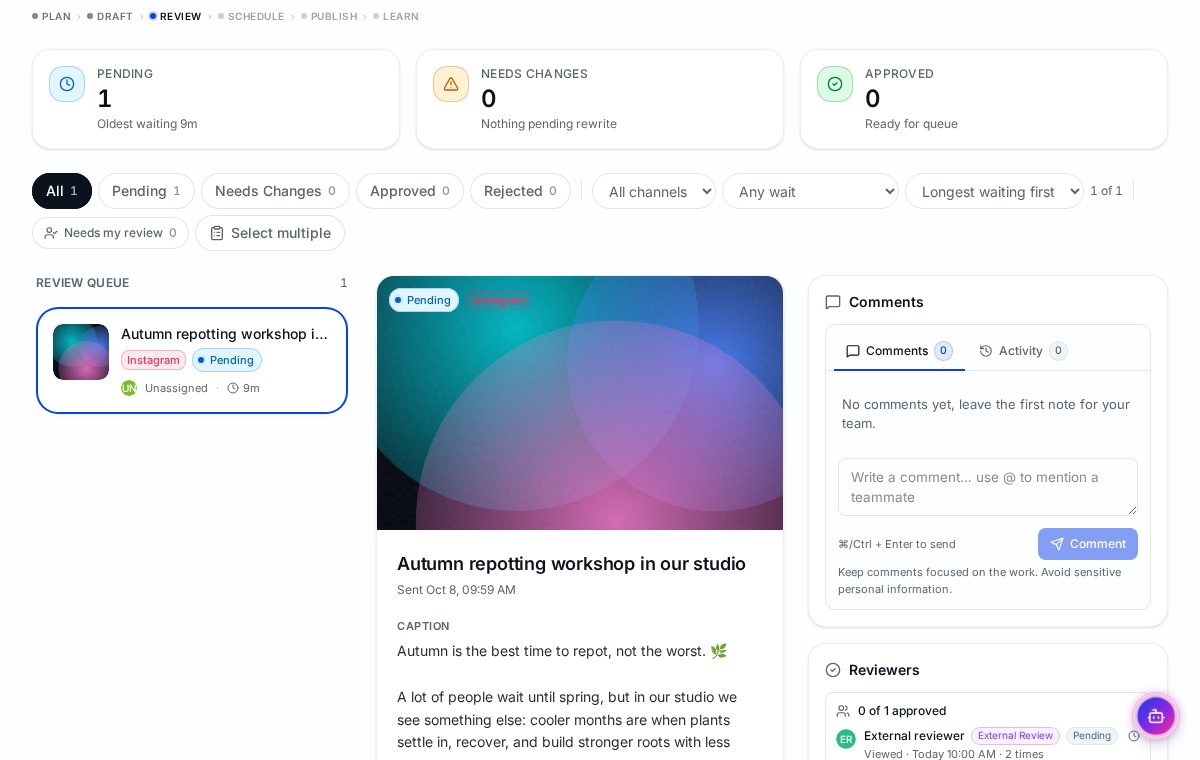
Detailed steps: How to Approve Content in Wemify.
5. Schedule
Open a ready post, click Schedule and use the suggested time or your own.
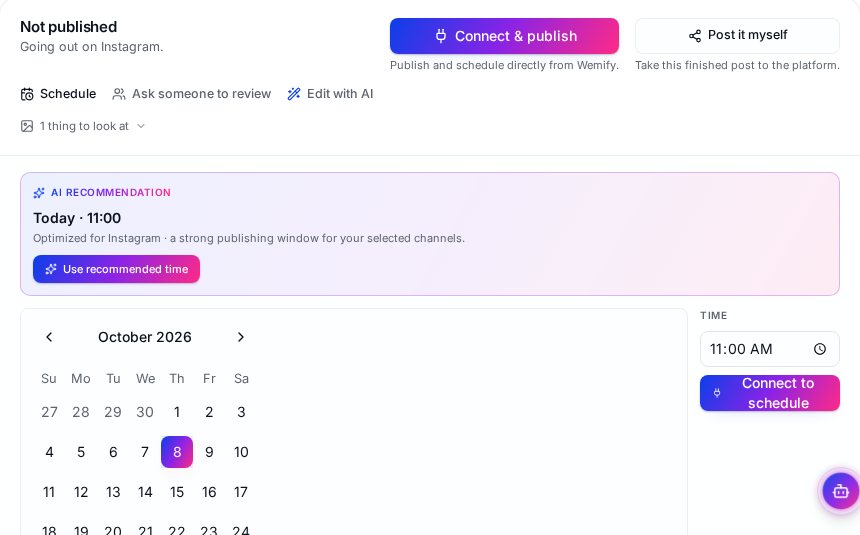
Detailed steps: How to Schedule Social Media Content in Wemify.
6. Publish
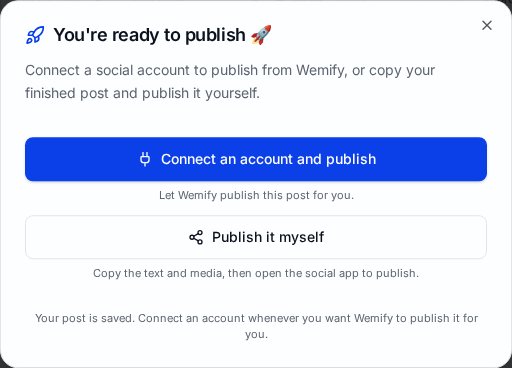
With a connected account, Wemify publishes at the scheduled time or right away with Connect & publish. Without one, Post it myself copies the text and media so you can post in the social app.
7. Keep the workflow organized
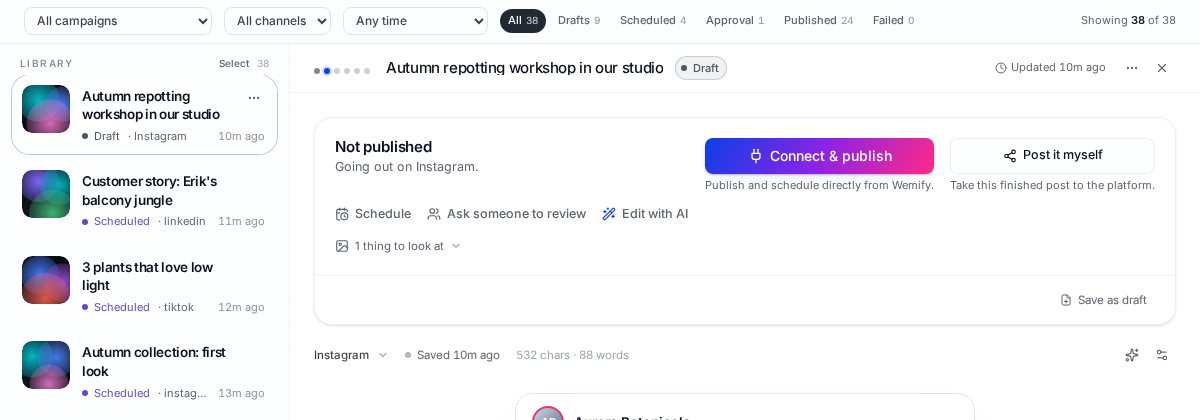
The Posts page is your overview. Status tabs show how many posts are in Drafts, Scheduled, Approval, Published and Failed, and filters narrow the list by campaign, channel or time.
- Check Drafts weekly and give each draft a date or delete it.
- Clear Approval before posts reach their date.
- Look at Failed after a publishing day.
- Review the month view in the calendar for gaps.
8. Continue learning
These tutorials cover how to do things in Wemify. For the method behind them, read What Is a Content Workflow? and How to Organize Your Marketing Content. For a full product tour, see the Wemify product overview.
Frequently asked questions
Do I have to use every step?
No. Use the steps you need. Approval, for example, is optional.
Where should a new user start?
Start with How to Create Your First Post in Wemify, then come back to this overview.
Can a team share one workflow?
Yes. Teammates in the same workspace see the same posts, calendar and review queue.
Ready to organize your content workflow?
Try Wemify free for 14 days and run every post from idea to published in one place.
Continue reading
How to Create Your First Post in Wemify
A step-by-step guide to creating your first post in Wemify: write a short brief, pick your channels, review the AI draft and publish or schedule it.
ReadHow to Repurpose Content in Wemify
Turn one post into versions for Instagram, LinkedIn, Facebook and more inside Wemify, using Create for and Rewrite for other channels.
ReadHow to Create a Content Calendar in Wemify
Use Wemify's calendar to plan posts by date, switch between month, week and timeline views, and give unplanned drafts a slot.
Read