How to Plan a Month of Social Media Content, Step by Step
Monthly plan vs. marketing calendar
A marketing calendar holds the bigger picture: launches, seasons and campaigns across a quarter or year. A monthly social media plan zooms in on one month and turns that picture into individual posts with dates, channels and owners.
If you don't have a marketing calendar yet, you can still plan a month. You'll just make the "what's happening this month" decision in step one instead of reading it from the calendar.
The ten-step monthly planning process
- 1
Define one or two goals for the month
Pick what the month should achieve: more enquiries, awareness for a launch, traffic to a new page. One or two goals is plenty. Every post you plan should support at least one. - 2
Choose three to five content pillars
Pillars are recurring themes, such as tips, behind the scenes, customer stories, products and community. They keep the month varied and stop it from becoming all promotion. - 3
Generate more ideas than you need
List ideas per pillar. Pull from customer questions, last month's best posts, upcoming dates and anything people search for in your industry. Aim for about one and a half times the posts you plan to publish, so you can drop the weak ones. - 4
Map ideas to platforms
Decide where each idea belongs. A how-to may suit an Instagram carousel and a LinkedIn post; a quick update may only fit Facebook. Be realistic about how many channels you can sustain. - 5
Build the calendar
Place posts on specific days. Anchor the fixed dates first (launches, events, holidays), then fill around them. Keep a consistent rhythm per channel instead of clustering posts. - 6
Create the content in batches
Write captions and prepare visuals in one or two focused sessions rather than every morning. Batching keeps the tone consistent and frees the rest of the month. - 7
Adapt each post for its platforms
Rewrite hooks, length and calls to action per channel. See how to repurpose content across social media for a full method. - 8
Review and approve
Have someone check facts, tone and visuals before anything is scheduled. Set a deadline for feedback so review doesn't eat into publish dates. - 9
Schedule the month
Schedule approved posts. Keep a few open slots for timely posts that come up during the month. - 10
Review results and plan the next month
At month end, note which pillars, formats and channels performed, and carry those lessons into next month's ideas list.
Example: a month for a small plant shop
Goal: grow online orders for a new autumn collection. Channels: Instagram, Facebook and LinkedIn. Rhythm: three Instagram posts, two Facebook posts and one LinkedIn post per week.
| Week | Focus | Example posts |
|---|---|---|
| 1 | Tease the collection | Sneak peek carousel; "guess the plant" Facebook post; LinkedIn post on choosing growers |
| 2 | Launch | Launch announcement; care guide carousel; customer unboxing story |
| 3 | Education | Common watering mistakes; repotting in 60 seconds; Q&A post |
| 4 | Social proof | Customer stories; behind-the-scenes packaging; recap of the month |
Notice that most weeks mix pillars. Only one post a week is a direct product push, and the rest earn attention so the product posts get seen.
Common planning mistakes
- Planning more than you can produce. A smaller plan you finish beats a bigger one you abandon in week two.
- No buffer for review. If approval takes two days, posts must be ready at least two days before they're due.
- Every channel gets every post. That multiplies work and makes channels feel identical.
- Never looking back. Without a monthly review, the next plan repeats the same guesses.
Monthly planning checklist
- One or two goals written down.
- Three to five pillars chosen.
- Ideas list longer than the number of slots.
- Every post has a date, channel and owner.
- Batch creation sessions booked.
- Review deadline set before the first publish date.
- Month-end review on the calendar.
How Wemify can help
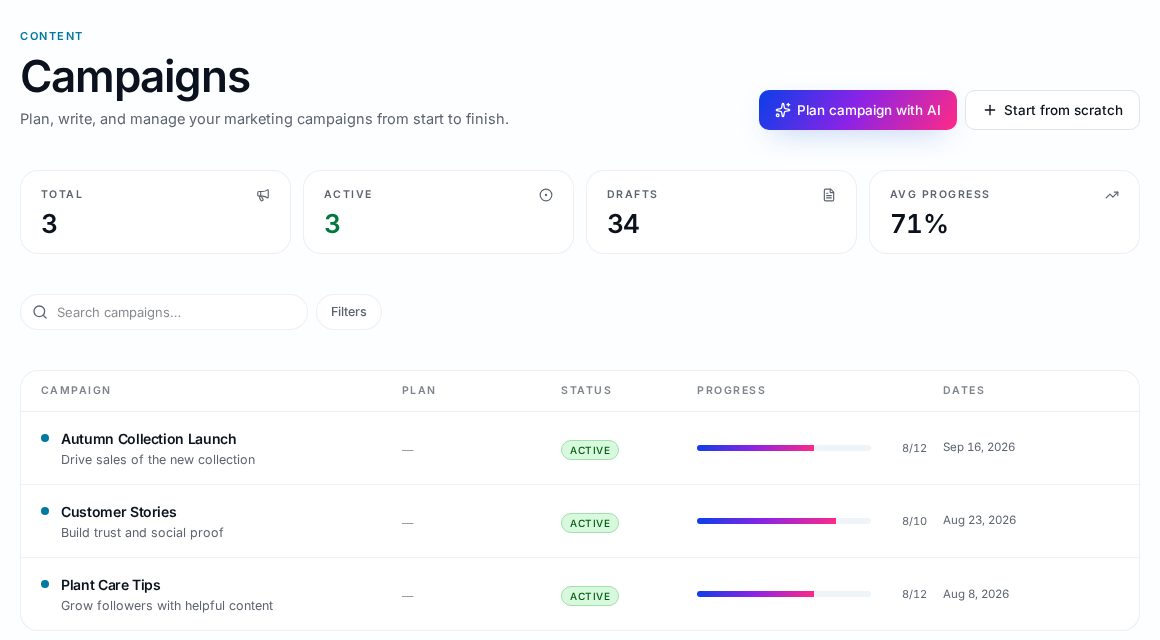
Wemify lets you group a month's posts into a campaign, so a launch or theme has its own progress bar and date range.
The calendar shows planned posts by month, week or as a timeline, with drafts that don't have a date yet listed on the side so nothing gets forgotten.
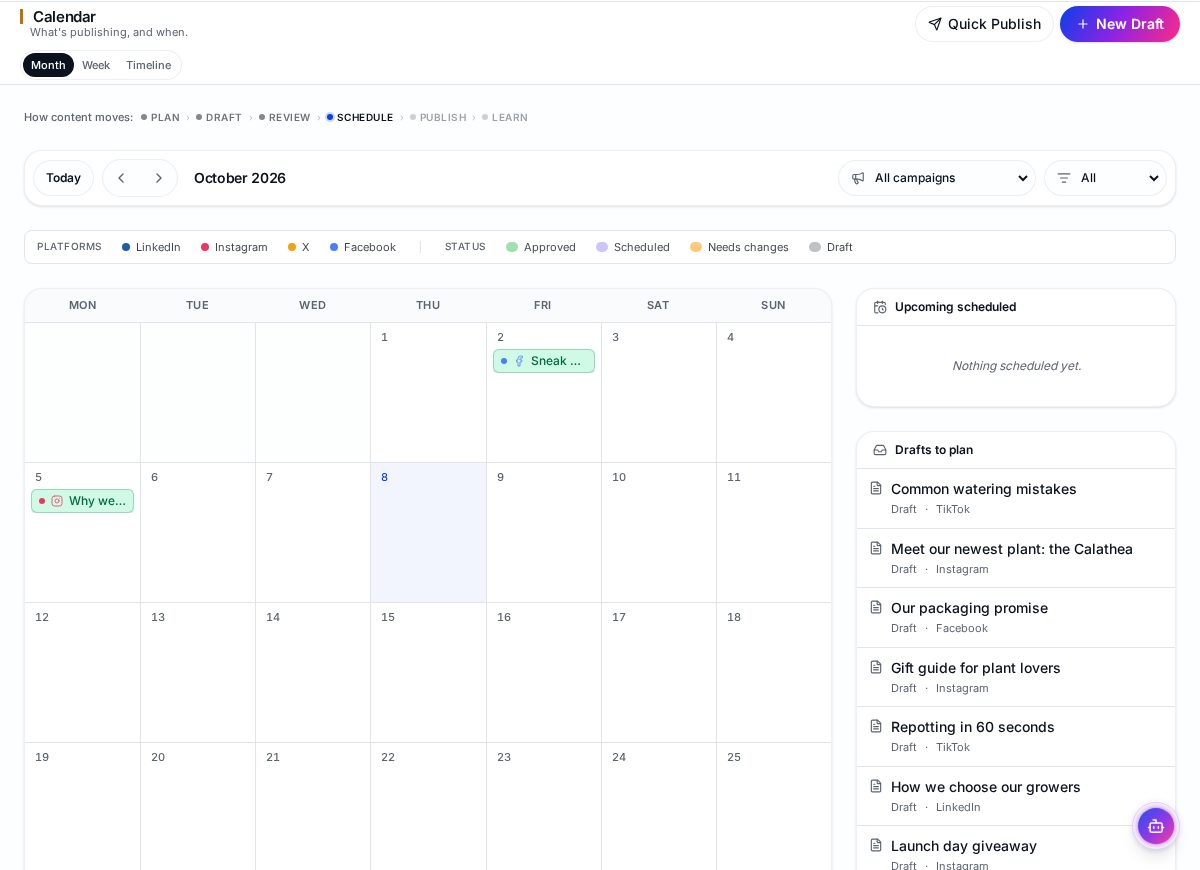
From there, each post moves through drafting, review and scheduling in the same place. If you're still choosing a tool, our comparison of content planning software covers the main options.
Frequently asked questions
How many posts should I plan per month?
Plan what you can produce and review consistently. For many small teams that is two to four posts per week on their main channel and fewer on secondary channels. Consistency matters more than volume.
How far ahead should I schedule social media posts?
Planning a month ahead and keeping the next week fully approved and scheduled works well for most teams, while leaving space for timely posts.
What are content pillars?
Content pillars are a handful of recurring themes, such as tips, behind the scenes or customer stories, that your posts rotate through so your feed stays varied and on-message.
Do I need a tool to plan a month of content?
No. A spreadsheet works to start. A dedicated tool helps once approvals, several channels or several people make a spreadsheet hard to keep up to date.
Plan next month in one place
Campaigns, calendar, drafts and approvals together, so the plan turns into scheduled posts.
Continue reading
How to Create a Content Calendar in Wemify
Use Wemify's calendar to plan posts by date, switch between month, week and timeline views, and give unplanned drafts a slot.
ReadSocial Media Content Calendar Template for Small Businesses
A free-to-copy social media content calendar template with the fields small teams actually need, an example month, and how to keep the calendar up to date.
ReadMarketing Calendar Template for Lean Teams
A calm, practical marketing calendar template and step-by-step guide for lean teams. Plan campaigns, content, and channels without complex tools.
Read